How to achieve a Feline Flick!

Have you ever struggled to create a winged liner and basically given up on trying ever again? Well, now that you've got some more time on you hands, it's the perfect time to practice! We've listed our steps below on how to achieve an easy feline flick, using ONLY eyeshadow and no messy liquid liners needed!
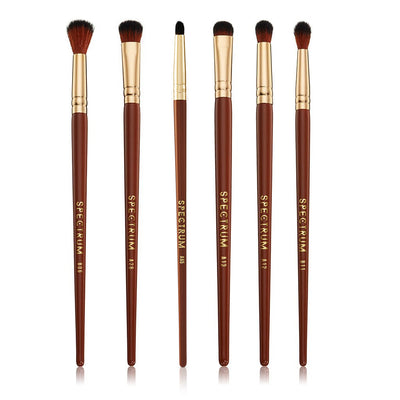
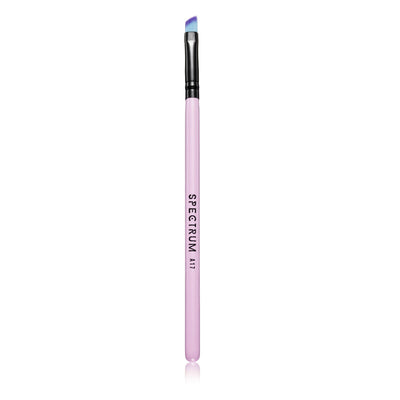
Firstly, you'll need an A17 angled eyeliner brush and a dark brown eyeshadow like 'Cool Cat' from our Pantherine Palette. Using eyeshadow can be a great way to practice a winged eyeliner shape without the full commitment, as eyeshadow is easily smudged if you make a mistake and doesn't look as harsh as a black liquid liner. Once you feel more comfortable and you've managed to practice a few times, you can use this eyeshadow trick as a guide before you apply your chosen liner.
Step 1 - Map it out!
The best way to begin is to map out the shape! Our first top tip is to use your bottom lash line as a guide and imagine if there was a line continuing up from the bottom line. This is how you'll determine the angle of your wing. You can use a brush to guide you.

Using the A17, coat both sides of the brush with eyeshadow to ensure all bristles are evenly covered. Make sure to dab off any excess on the back of your hand!
Using your bottom line lash as a guide, create a rough line from the end of your eye, as if a line was continuing up from the bottom lash line. The length of the line will depend on how long you want you wing. It's always easier to start off small and you can add to it at the end.

You can also use your brush to stamp on the line and the brush will do the work for you! OR you can use the longest part of your angled brush and use the very tip to sketch out your line.
We recommend doing the same on the other eye, as it will be easier to match up the angles. As you're using the bottom lash line as a guide, this helps to ensure both flicks match!
Step 2 - Creating the shape
Now is when you'll start to see the winged shape form! From the top of the line you just created, you'll need to draw in towards the mid part of your eyelid. Wallah! You'll notice a small triangular shape. This is where you can thicken the line and lengthen the wing if you prefer. But again, always do both wings after the other as it will be harder to match if you do one eye at a time.

Step 3 - Fill it in!
Fill in the wing! Once you've got your rough wing, you can fill it in with the same eyeshadow and also define the rest of the top lash line if you'd like. To make the eyes look super feline, lifted and elongated, we recommend keeping the outer part of the wing thicker and it should start to get thinner when it reaches the inner part of your eye.

Step 4 - Blur it or define it!?
The next step is down to preference! The first option is to blur the edges of the line to make it super sultry and smudgey, which is great if you make any mistakes or if you feel like your line isn't as neat as you'd like. Secondly, you can wet the brush and dip it into the same 'Cool Cat' eyeshadow and redefine the edges of the flick which will help sharpen up the shape.
Step 5 - Clean up any mistakes
If you want to clean up the outer edge, you can use a flat A16 brush and a small amount of concealer and lightly swipe it next to the wing which will add contrast and sharpen up the edge of the flick!

Start practising loves! The more you practice, the easier it will get. Just remember, makeup wipes off. Practice before bed or if you make a mistake, you can easily remove it! Have fun and we hope these tips helped you.

Check out our YouTube video for our demonstration on how to achieve a feline flick! 👉🏽 https://youtu.be/HmsJbw4S5xM